
I have always had trouble pinning miniatures despite the tools I use. Seems like no mater how carefully I line everything up, there is still a problem with the way the joint fits. This is especially true when pinning a miniature to a base with more than one pin. After a few years of just using one pin and hoping for the best, I have figured out a way to put a pin in each leg and have the miniature stand flat on the base.
First off you will need some tools in addition to the usual pinning supplies you normally need. It should be noted that this is not a tutorial teaching you how to pin as there are plenty of those on the internet already. If you don't know what I'm talking about, just do a google search and you will find several.
Anyway back to suppies. You will need a piece of styrofoam (or something easy for the pins to slide into) and some masking tape or a post-it note to mark the holes. You could use masking tape if you prefer although I prefer the post-it. Start by placing the post-it on the foam and hold it firmly in place.

Next take the predrilled figure with the pieces of wire glued in place and press it firm into post-it. This should poke two holes in the tape just where the pins should be drilled into the base. Once the wire pierces the paper, push it all the way down so that the miniature is on the paper as if it is on the base.
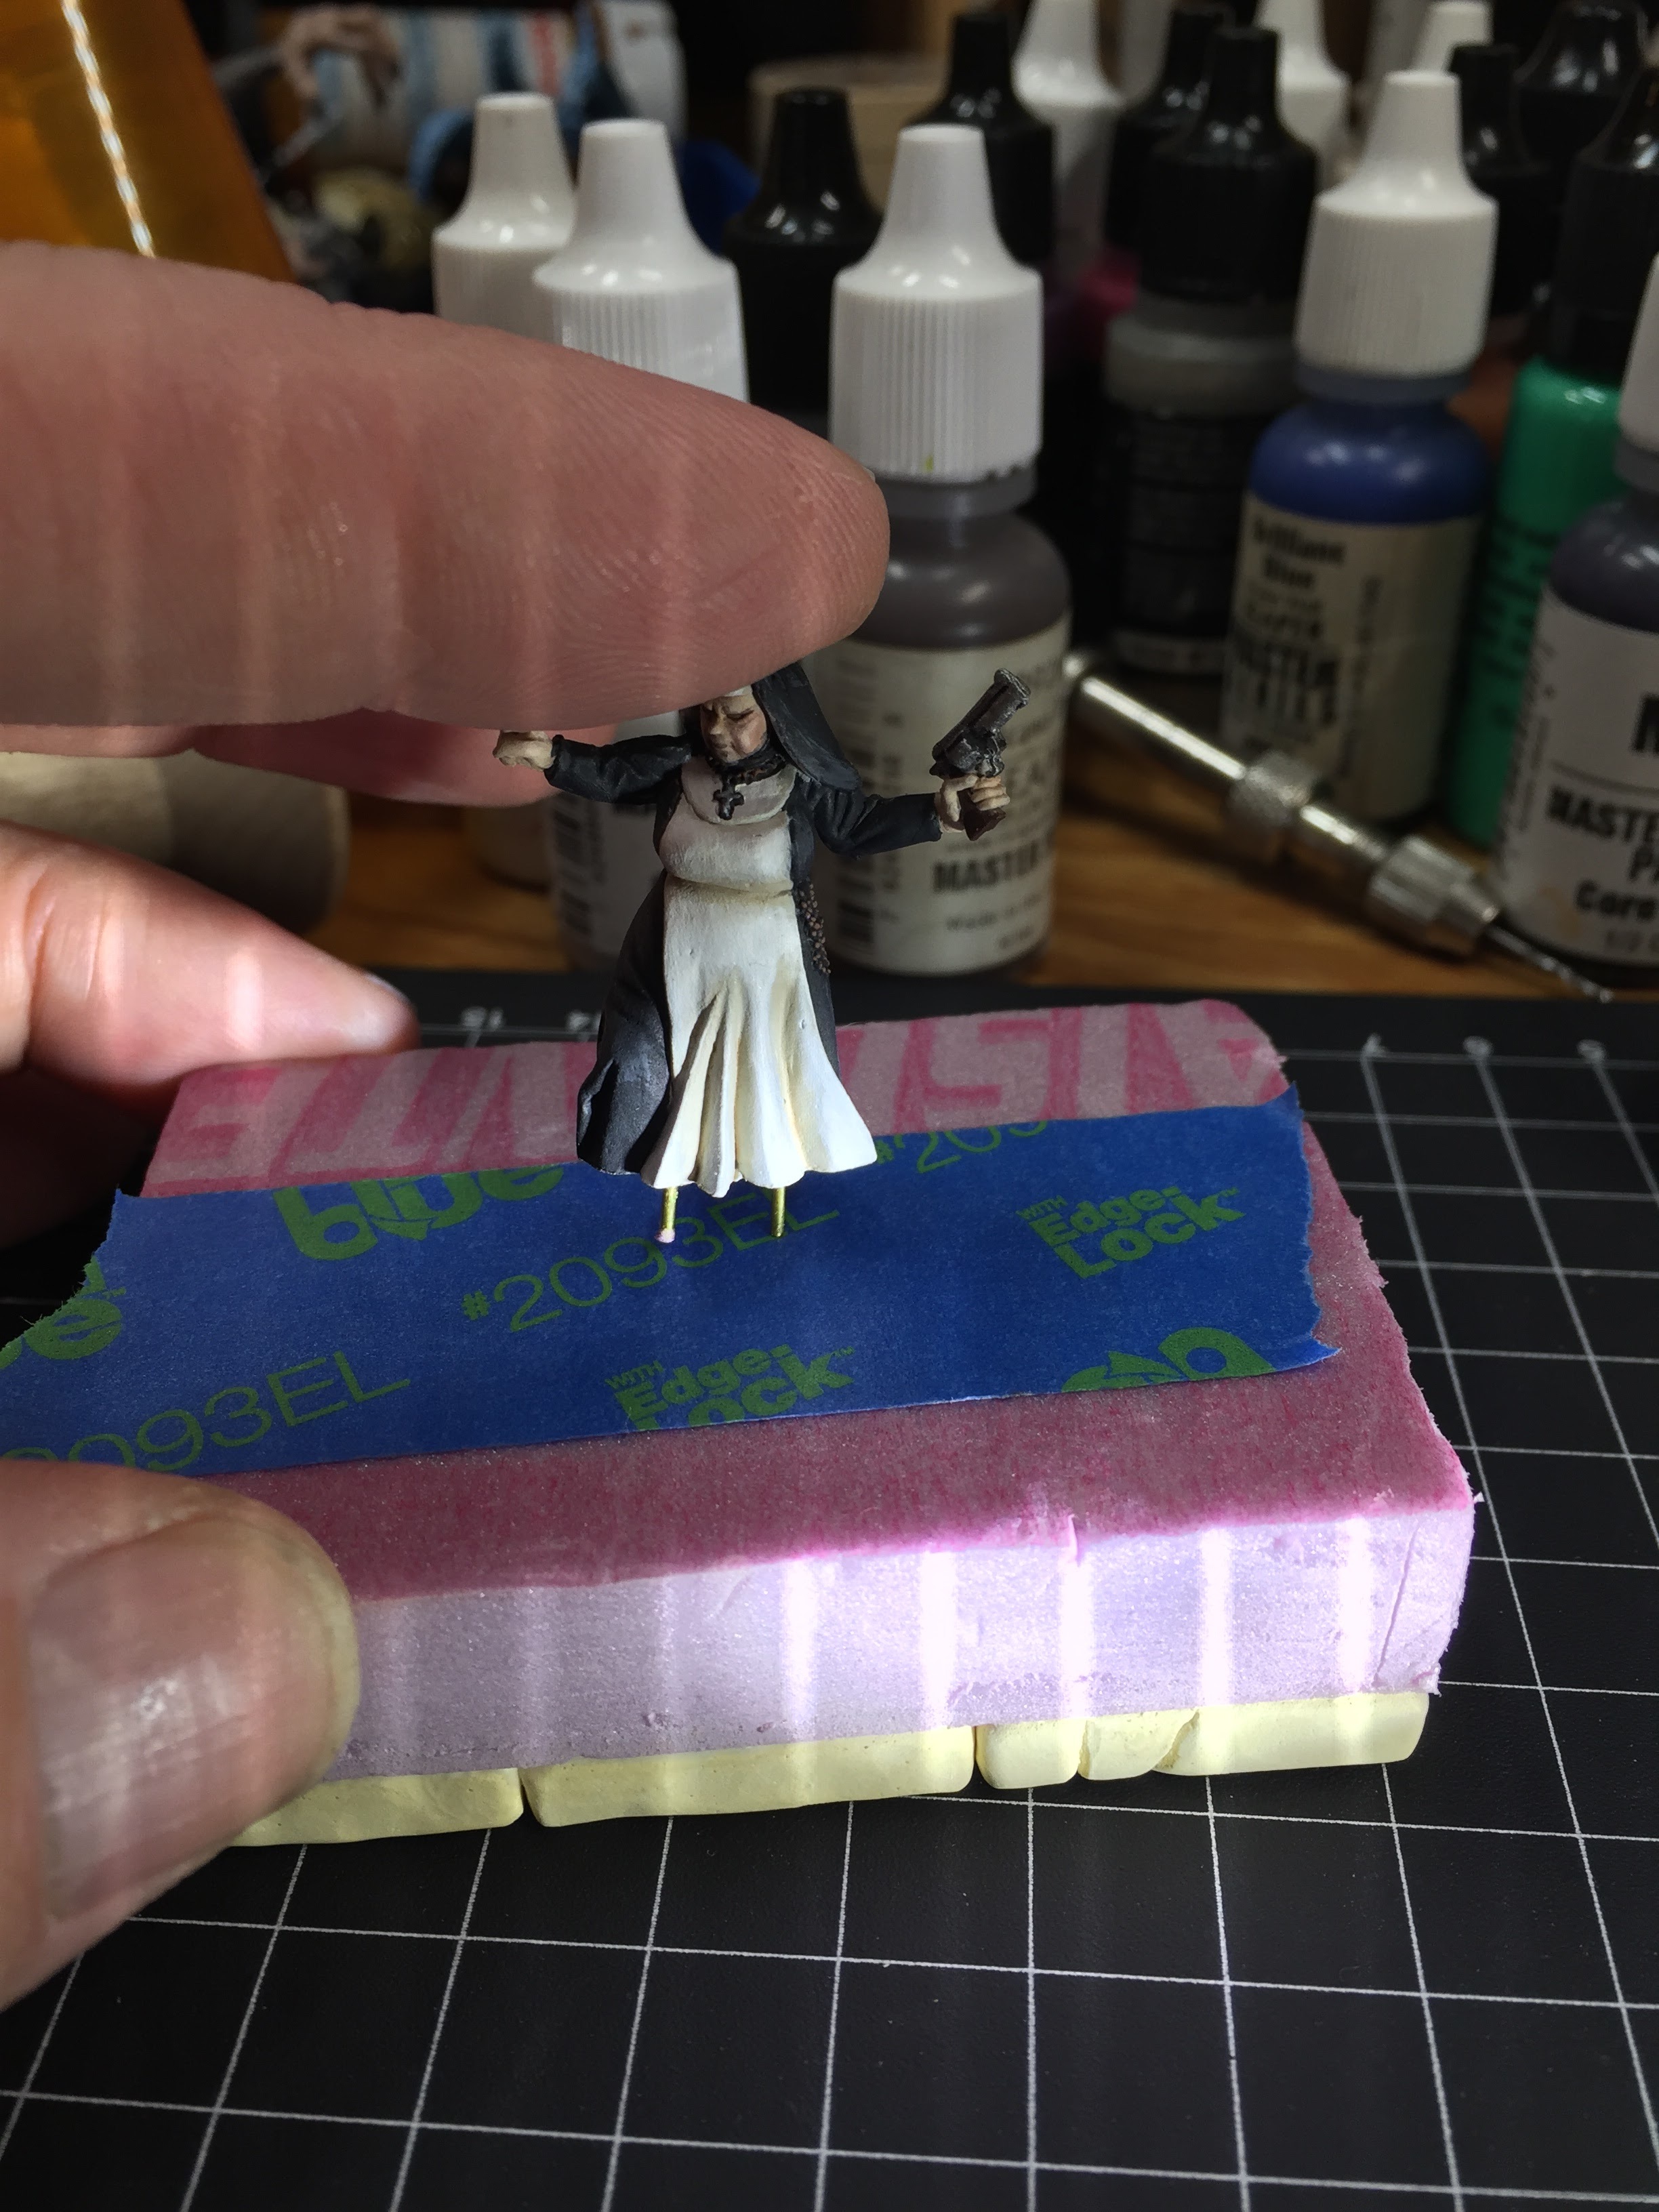
Next note front of the miniature and mark an arrow the direction of its head. This is so that when you start to make the holes on the base you will know which way the model is facing. You can make any mark you like, but I like to mark the direction the model is looking since the eyes and face are the most important part of the miniature and the base can help you emphasize the effect.

If the figure has a large footprint such as the one pictured above, I like to trace it so I know where its going to be sitting on the base. This will give an idea of how to center the figure so that no part of it hangs off the base unless you want it. This step is optional but you can do it for even figures with very small footprints. You can also cut around the holes or even cut out the outline if you want to exactly position it. I most cases I don't feel the need to do this.
Next remove the figure from the post-it and foam then remove the post-it from the foam. This is your template. Place it carefully onto your base so that the sticky part of the post-it helps to hold it in place. At this point you could mark the holes in the tape onto the base so you know where to drill. I prefer to use an awl to set the starter holes on the base by using the holes in the paper.


Next use your pin vice to drill at the spots you marked using your template.
You can then test fit and superglue your model onto the base. I like to bend the wire under the base and secure it with a blob of superglue.


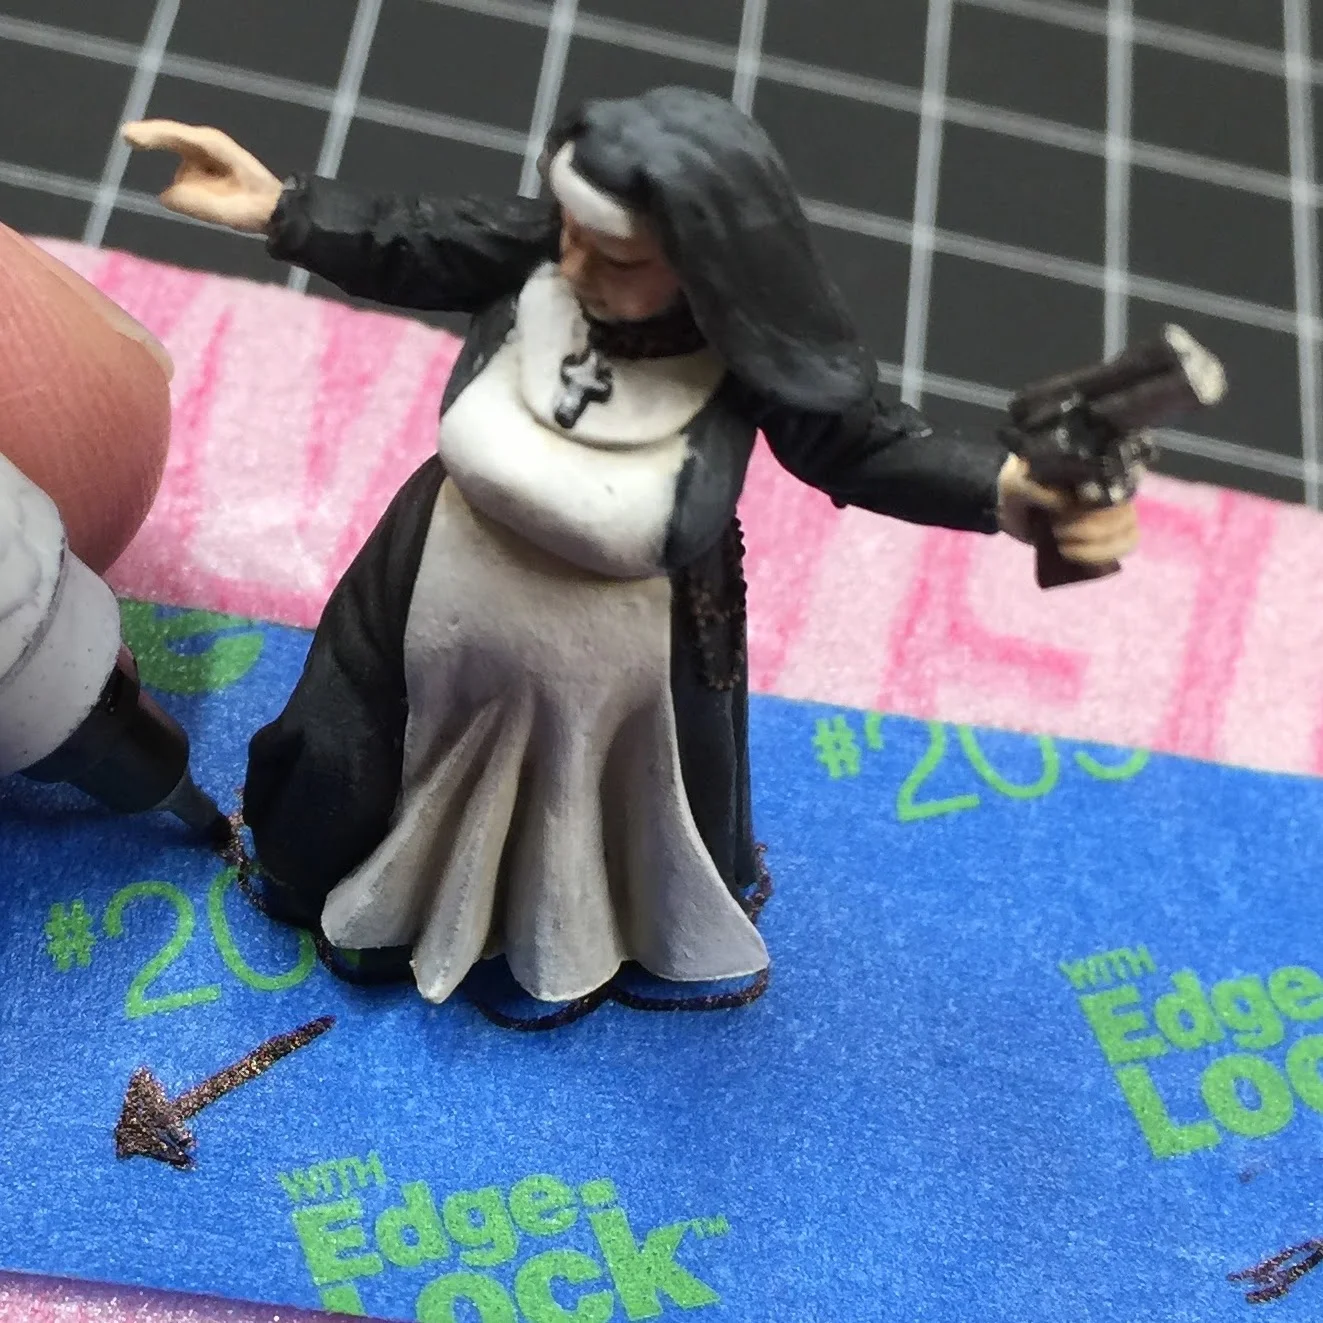
Here is a picture of the figure all based and happy. The pin should hold this miniature to the base and protect it from shearing. I hope this tutorial was useful to you.

Thanks for reading